How to Configure Sigma Writeback with Snowflake
As a consultant, I often see companies struggle with the concept of actionable insights. A user may have access to all the right data, but doesn’t know what actions to take on that data.
Take a customer service manager, for example. A customer service manager sees a low NPS score on a dashboard, but what happens next? Why did we receive this score? Is there a trend? In order to perform this analysis, he’ll have to export that data and explore the data himself.
Sigma Writeback changes that. It allows you to turn your dashboards, and data, into an application where users can input, update, and save data directly that flows back into your Snowflake warehouse.
Let’s explore the Dynamic NPS dashboard to show just how Sigma Writeback works, and how a customer service manager can use it in their daily life. First though…
What is Sigma Writeback?
In traditional BI tools, data only flows in one direction, from the warehouse to the dashboard. If you want to make new changes, update formulas, or adjust your business logic, you’ll have to go all the way back to the data source. This process can lead to delays, which force business users to export their data to gather the insights they need.
Sigma Writeback removes the need for this flow by allowing users to:
- Update values directly in the dashboard
- Create formulas to modify the data directly
- Add and remove columns and rows
All while flowing these changes back to your data sources.
Establishing a connection
As discussed before, Sigma is designed with this writeback feature in mind. That means setting up Sigma Writeback is incredibly easy. In this example, we’ll be setting up a Snowflake connection.
- Open up your Sigma environment and navigate to the Administration settings underneath your profile information in the top right.
- Click the Connection section from the left side bar.
- Within the Connection section, you’ll see all the environments you have connections to. You can connect to an existing connection, or create a new one.
- Click Create Connection, give it a name, and select your connection type. I’ll be using Snowflake.
- On this tab, you’ll add your Snowflake account information, using either Key Pair or OAuth. The key thing to include on this tab is the “Write access” section. This is where you will determine what database and schema you will write your data to in Snowflake. Keep in mind, every Sigma dashboard that uses writeback will writeback to the same writeback schema. Note: It often makes sense to include separate connections with different writeback schemas if you plan to use this feature across different areas of the business.
That’s all it takes to set up the writeback connection. Now, we just need to tell Sigma what we want to write back to Snowflake.
Input tables
Writeback takes place in Sigma in what is called an input table. Input tables are built off your existing Snowflake data, but they allow you to edit and add data directly.
For the dynamic NPS table, we’ve created a table of surveys based on our existing Snowflake NPS Surveys. Customer service managers want to be able to classify scores based on reason and sub-reason for what drove the scores. We can do that directly in Sigma through the input tables.
To start with, we can navigate to our data table that we’ve added to Sigma and select “Create Child Element” and “Linked Input Table.”
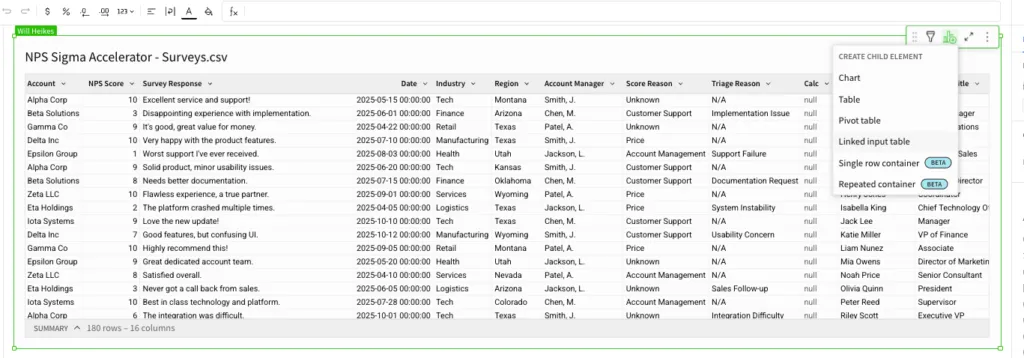
Once we’ve done this, we can select what fields from the data table we want to add to the dashboard. I’ve added the account, score, NPS type, and survey response. This information can allow us to dive into the data to classify the survey into score reasons.
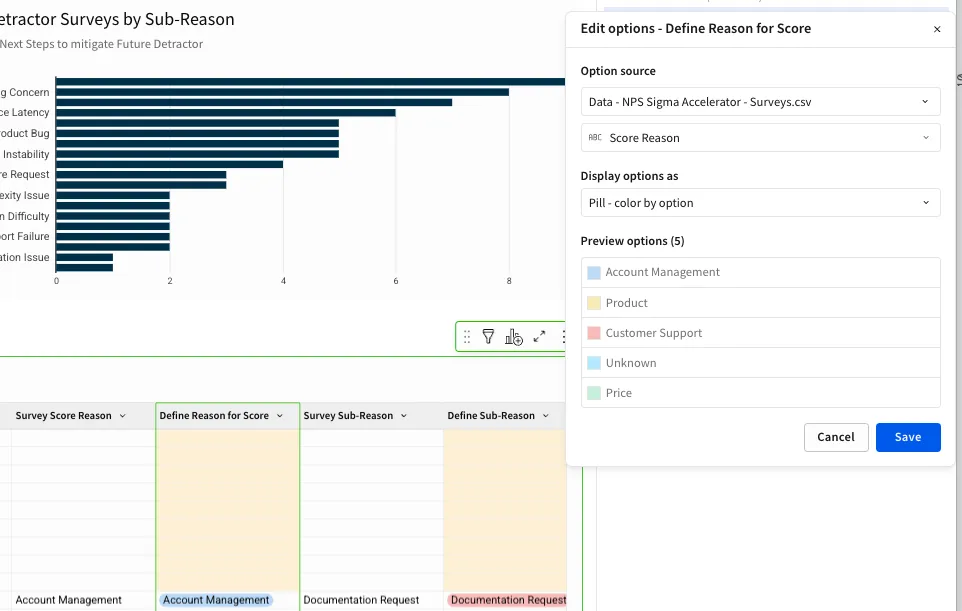
To do this, we’ll need to add columns that hold that score information. I added two new columns called Define Reason for Score, and Define Sub-Reason for Score based on the existing Survey Score Reason and Sub-Reason fields.
Once that’s defined, we can set the input permissions on the input table. You choose to allow for your table to be editable only in draft mode, only to explorers, or to all users. You can also set specific permissions based on user information but that’s a topic for another blog post!
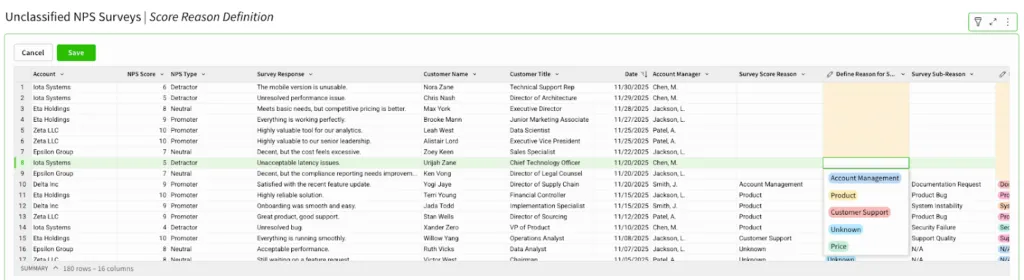
Once we’re happy with our table and our permissions, we’re ready to start editing data. I’ve set my table to be editable in publish mode. You’ll see now I have an Edit Data button above my table. By clicking this, I can make changes on the dashboard in those two columns and save them to write back to Snowflake.
Where does it go in Snowflake?
If you remember from our connection step, we had a Writeback Schema where we set our data to send our updates. If you open up that schema in Snowflake you’ll likely see a number of tables with prefixes SIGDS and sigma_df.
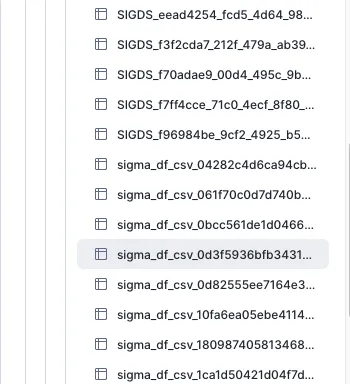
- SIGDS_ Tables: These represent the Input Tables themselves. They store the specific rows and values that your users entered.
- Audit Trails: The remaining files are called “audit trails.” Because it’s in Snowflake, you have a permanent record of who changed what and when. No more “who deleted this cell in the shared Excel file?” mysteries.
You can now set these tables to join with your existing data table in Snowflake, and overwrite values in those editable fields. This makes the changes in your dashboard a permanent part of your dashboard. Don’t worry, if you want to change those later, all you need to do is update the information in your Sigma dashboard!
The possibilities with Sigma Writeback
There are a number of use cases for writeback to make manual adjustments, update data, or scenario plan. We’ll explore those in more detail next time. For now, ensure you have your data environment connected, and start adding input tables to your dashboards!
Actionable NPS Triage
Our Actionable NPS Triage solution illustrates a dynamic, organized workflow powered by Sigma writeback and a Snowflake cloud data warehouse.