How to Set Up VS Code for Salesforce Development
Since the Spring ’18 release, Salesforce has been trying to get users to switch to Microsoft Visual Studio Code (VS Code) with the retirement of the Force.com IDE Eclipse. So, if you haven’t heard of VS Code yet, it is a very lightweight, easy-to-use, and extensive IDE with built-in support for Salesforce and Git. It features keyboard shortcuts, support for debugging, and other features like syntax highlighting and code completion. All of these can make your development life a lot easier.
The best part is that Salesforce comes with its own extension pack for VS Code to make the IDE Salesforce ready. The pack comes with a set of eight extensions which can all be downloaded and installed in your IDE with a single click. We’ll talk about each of them.
Download Visual Studio Code
To get started, we first need to download and install the VS Code IDE in our system.
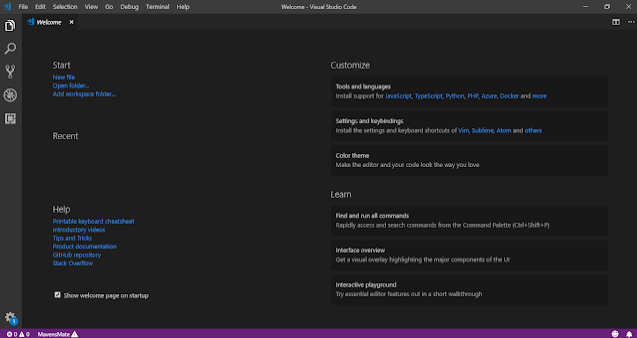
You can download the latest version of VS Code here. After installing it, you will see a screen as shown below:
Install SFDX Command Line Interface
As discussed, to use VS Code for Salesforce development, we need to install the Salesforce Extension Pack. But before that, we also need to install the Salesforce DX Command-line Interface (SFDX CLI). SFDX CLI is a very powerful tool which can simplify your development journey drastically. You can even build automation using it when working with your orgs. So say goodbye to Force.com IDE and hello to VS Code.
Some of the important tasks it can perform are:
- It can combine and store all the commands and tools you need for Salesforce development at one place.
- You can use it to sync your org with source and vice versa.
- Installing other packages is also made easier by using SFDX CLI.
- You can use it to manage orgs as well as your data.
- You can use it for testing purposes.
- … Best of all, it is open source, which makes it very flexible.
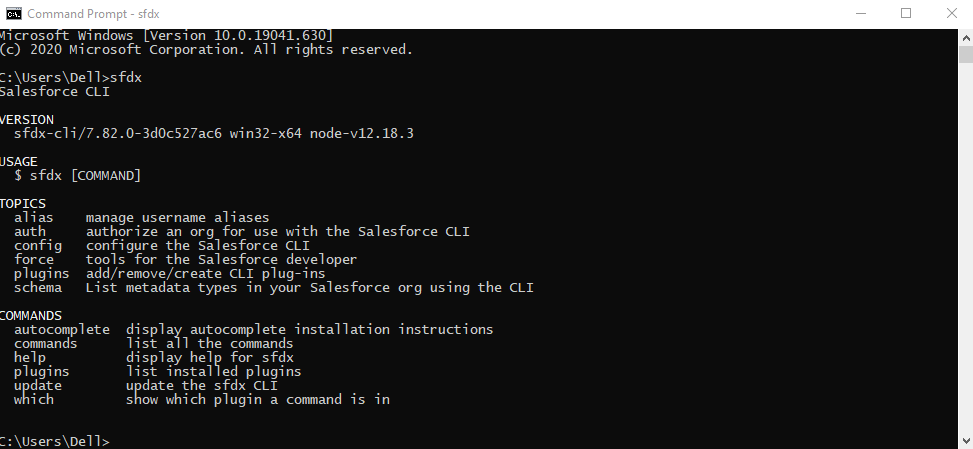
With that being said, go here and download the SFDX CLI for your operating system. To check if the SFDX CLI is installed correctly, go and run the sfdx command in your terminal. Something like this should appear in your terminal window:
 This CLI also contains several other commands and plugins, which you can use to do many of the non-core functions as well.
Install the Salesforce Extension Pack
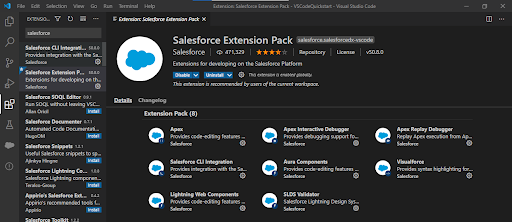
This pack contains a set of extensions which you can use to create and work with various orgs, Apex, Aura components, Visualforce, and whatnot. To install them, open your VS Code and click on the extensions button in the left bar. Search for “Salesforce Extension Pack” in the search box. A window similar to the one below will open. Clicking on “install” will install all the extensions at once:
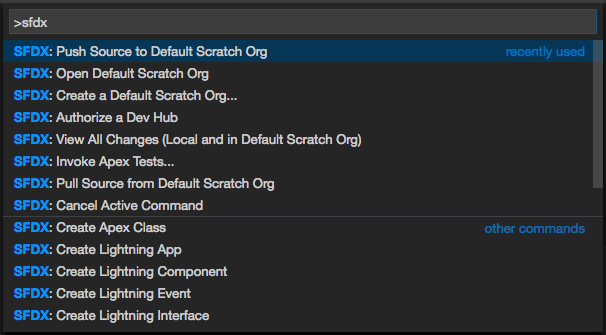
With this, we now have everything we need to work for our projects. SFDX CLI has many pre-built commands and plugins, which can perform most of your required functions. We can see and use all those commands from the command palette by pressing CTRL + SHIFT + P (for Windows) and CMD + SHIFT + P (for Mac).
To filter for all the SFDX commands, just enter sfdx in the command palette and you’ll see all the sfdx commands listed like below:
Let’s go through some of the most frequently used commands one by one:
Authorize an Org
This is the first command that should be run before starting a project. This command helps us to authorize an org using the credentials and connects our Salesforce org with the VS Code. After selecting this command, it will ask us for the type of org that we want to authorize and after selecting that, we need to give the reference name or simply press the Enter key and it will automatically redirect us to the Salesforce login page.

If the command ran successfully, then the exit code will be 0.
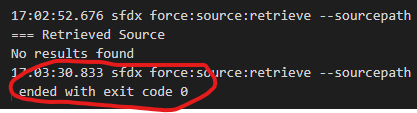
This authenticated org will be set as our default username.
Create Project
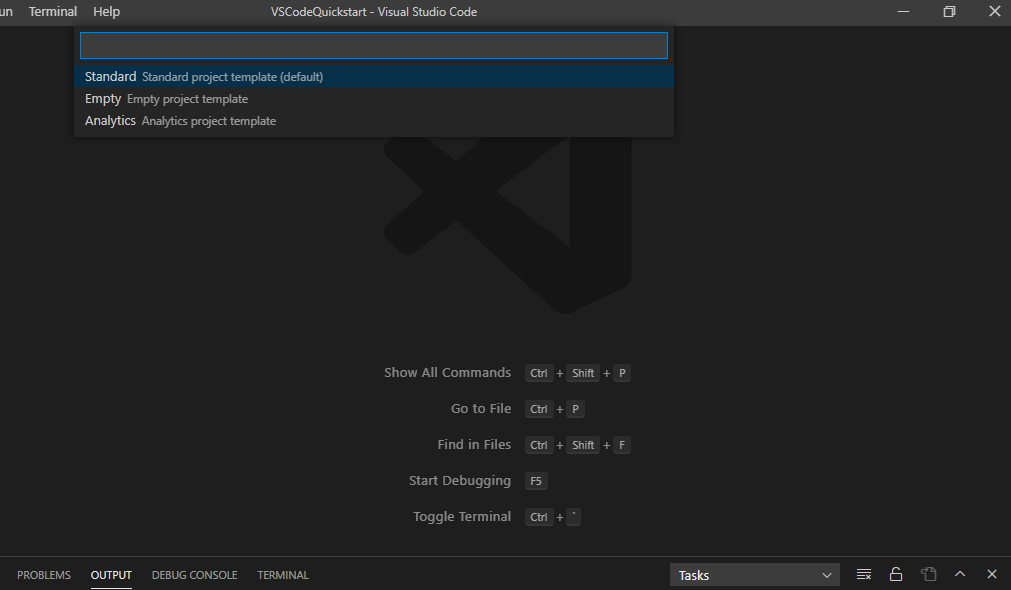
This command is used to create a Salesforce project in our system. It gives us a layout of an empty project which we can work in. It also lets us choose what type of project we want to create (e.g., Standard, Empty, Analytics). This creates a force-app folder which is the most useful for us. This is where all of our metadata goes.
Let’s create an example standard project named “TEST.” To do this, press ctrl+shift+P (on Windows) or command+shift+P (on Mac), and select SFDX: Create Project. Select a project type according to your requirement. In our case, let’s select a standard.
Next, we have to specify the name for our project and select the location to save it when prompted.
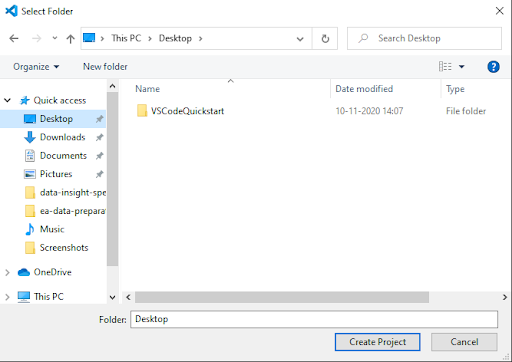
A project will be created in our VS Code. Most of our work will be done in the force-app folder.
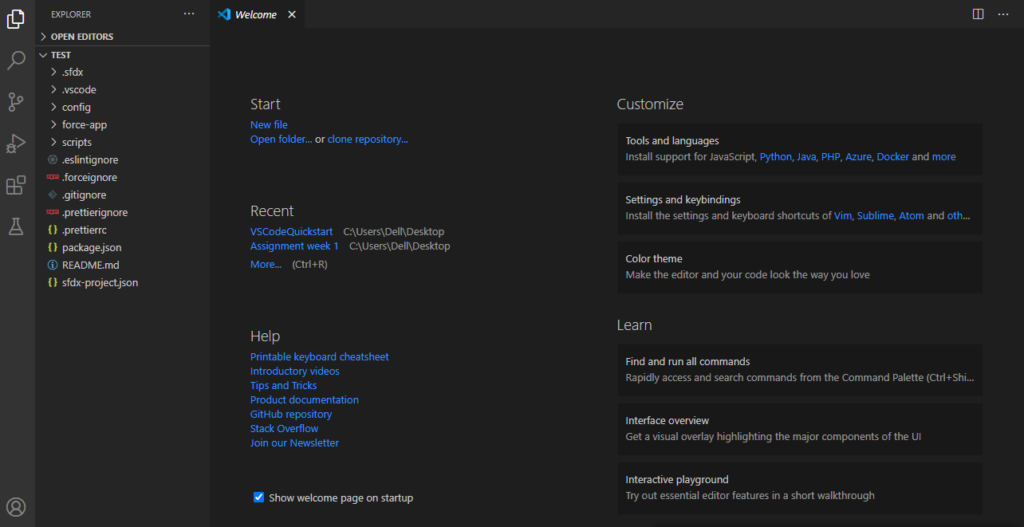
When any command finishes running, there is a notification at the top of the window.
To see the complete output of the command we ran, we have to select View>Output and then select Salesforce CLI from the below highlighted drop-down menu.

We can also use the View button on the command completion notification to see the output.
Create Project With Manifest
Creating a project with this command will create a project as it did in the aforementioned command but with a manifest (package.xml) file as well. We can use this manifest file to fetch components like Apex, Lightning web components, Visualforce. To see some sample package.xml manifest files, click here.
Retrieve Source from Org
This command is used to sync our org with the local project. The selected file or directory is retrieved from the default org and is then overwritten.
Deploy Source to Org
This command does the same task as the retrieve source from org command, but in the reverse order. This command will deploy or push our project or selected files or directory to your org.
View Local Changes
This command will show all the changes that we’ve made in our local project so that we can view and verify them before pushing them to your org.
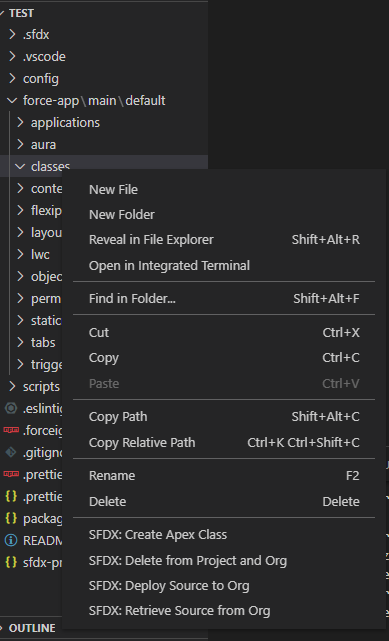
Create Apex Class
This command will create an Apex class along with the metadata file in the force-appmaindefaultclasses folder.

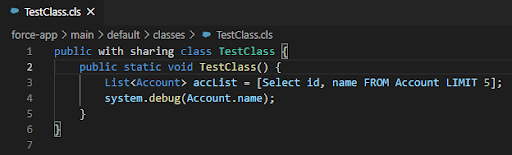
We can also choose any other directory to save the file if you would like. The class will be created with a .cls extension. This is how our Apex class will look:
Create Apex Trigger
This command will create an apex trigger along with its metadata file in the force-appmaindefaulttriggers folder.
Create Aura App
This command will create an aura app and its bundle in the force-appmaindefaultaura folder.
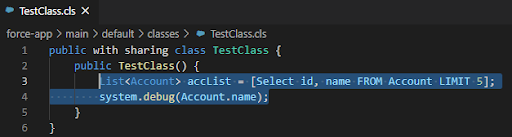
Execute Anonymous Apex with Currently Selected Text
This command will run currently selected anonymous code or block of text. For this, we need to select a part of our code and then run this command for that code to execute.
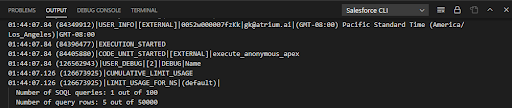
We’ll also get a notification when the code execution finishes and the output will be displayed in the output section of the terminal below.
These were some of the commands which are used frequently. There are many other commands for Visualforce, testing, debugging, code sync, etc. as well. You can find the official documentation for all other commands here.
Happy learning! Need assistance? Check out our consulting services for Salesforce.