How to Implement OAuth 2.0 Login for Python Flask Web Server Applications
Today, developing an application is much easier than keeping it secure. Keeping track of which users are utilizing the service and their access levels has never been more important.
There are two ways to handle this:
- Traditional method: users enter their credentials on a login page.
- Single sign-on: users log in via platforms such as Google or Facebook using SSO, which leverages the OAuth 2.0 authentication method.
What is OAuth 2.0?
OAuth 2.0 enables users to gain limited access to user accounts and delegates the authentication to the third-party account hosting the user’s information.
This allows users to share account information with other applications without revealing their username and password.
The single sign-on approach has become the preferred method for service providers and consumers as it’s more secure and eliminates the need to memorize a username and password. All the overhead is pushed to the third party that is used for authentication.
In this article, we’ll show you how to set this up using Python’s Flask framework and Google for the OAuth login implementation.
The login process consists of the following steps:
- When a user comes to your web application and hits the Google login button, they will be redirected to Google’s standard login page.
- After a user enters their Google account credentials, they will be asked to give consent to share their email and any information relevant to your application.
- Once that information is passed to your application, you will be able to access that user’s information and can store it in the database for future reference and subsequent logins.
Prerequisites:
Enable APIs for your project
Before your application can call the Google APIs, it needs to be enabled in the API Console. Follow the steps below to enable the Google Plus API for your project.
- Open the API Library in the Google API Console.
- If prompted, select a project, or create a new one.
- You can find and enable the Google Plus API on this page.
Create authorization credentials
To use OAuth 2.0, you need to create authorization credentials. Follow these steps to create credentials for your project, then only you will be able to access Google APIs using OAuth 2.0.
- Go to the Credentials page.
- Click Create Credentials > OAuth Client ID.
- For the application type, select Web Application.
- Fill out the form and hit the Create button. We must specify authorized redirect URIs, which are the endpoints to which the OAuth 2.0 server can send responses. These endpoints must adhere to Google’s validation rules.
For testing on the local dev environment, you can specify URIs that belong to the local machine, such as http://127.0.0.1:5000. In this article, we are using http://127.0.0.1:5000/login/google/authorized as the redirect URI.
After creating your credentials, store GOOGLE_CLIENT_ID and GOOGLE_CLIENT_SECRET securely. We will use them in the next steps while writing the Python code.
Note: Do not store the GOOGLE_CLIENT_ID and GOOGLE_CLIENT_SECRET in a publicly-accessible location. In addition, if you share the source code to your application — for example, on GitHub — store them in an environment file and add that environment file in .gitignore to avoid inadvertently sharing your client credentials.
To implement the Google login in your Flask application, follow the steps below. This code was written in Python version 3.9.1.
Step 1: Create a requirements.txt file in the root directory of your project to install all the required packages and add the below lines.

Step 2: Now, run the below command to install all the packages from requirements.txt.

Step 3: Create the .env file to store the environment variables. We will store the Google client_id and client_secret here, which we created in the steps above.

In order to use the session in Flask, you need to set a secret key. A secret key should be as random as possible. You can use the following command to quickly generate a value.

Step 4: We have set up all the basic dependencies required for the Google OAuth implementation. Next, we will create a file named app.py.
- Add the below code in app.py to import all the packages.

- Fetch the value of environment variables and store them in python variables.

- You must set the OAUTHLIB_RELAX_TOKEN_SCOPE environment variable to account for Google changing the requested OAuth scopes.
Disable OAuthlib’s HTTPs verification by setting OAUTHLIB_INSECURE_TRANSPORT in the environment variable when running locally. DO NOT leave this option enabled when running in production.
- Add the below code to handle the Google login. Check in the index function if the user is already logged in. Then, pass the user information in the HTML template. Create a login method that will redirect the user to Google’s login page.

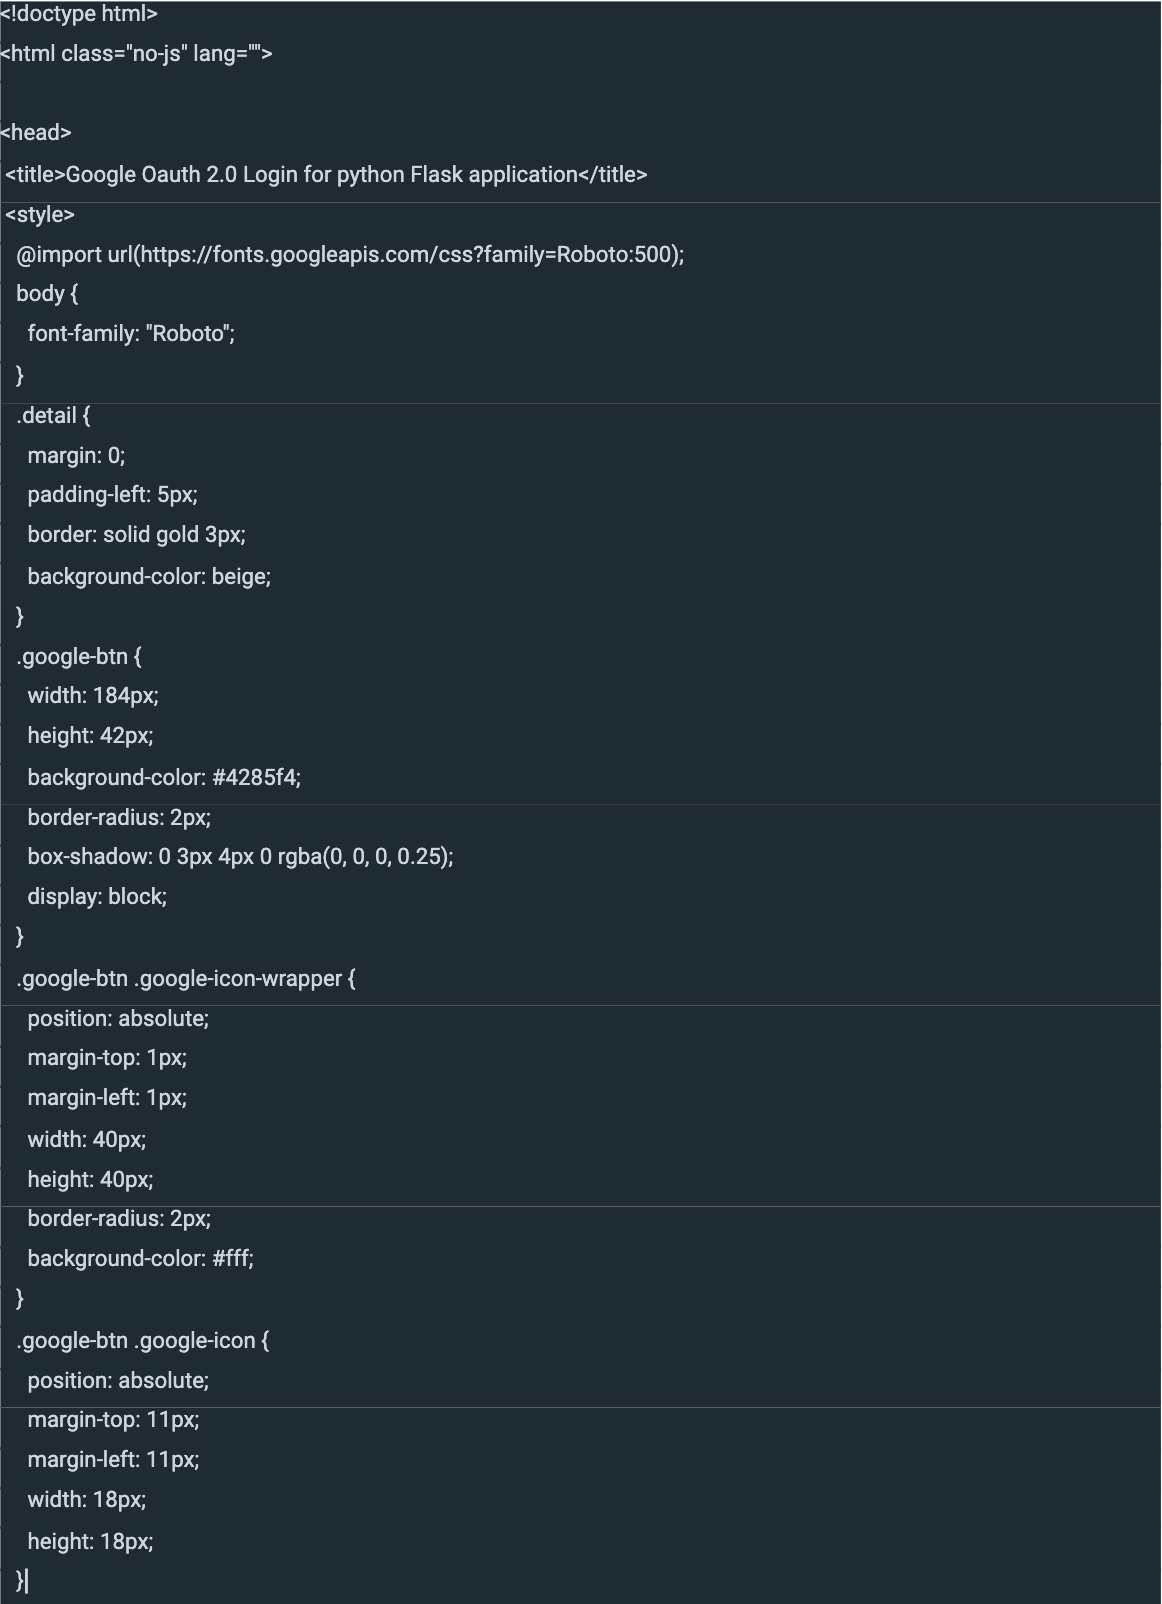
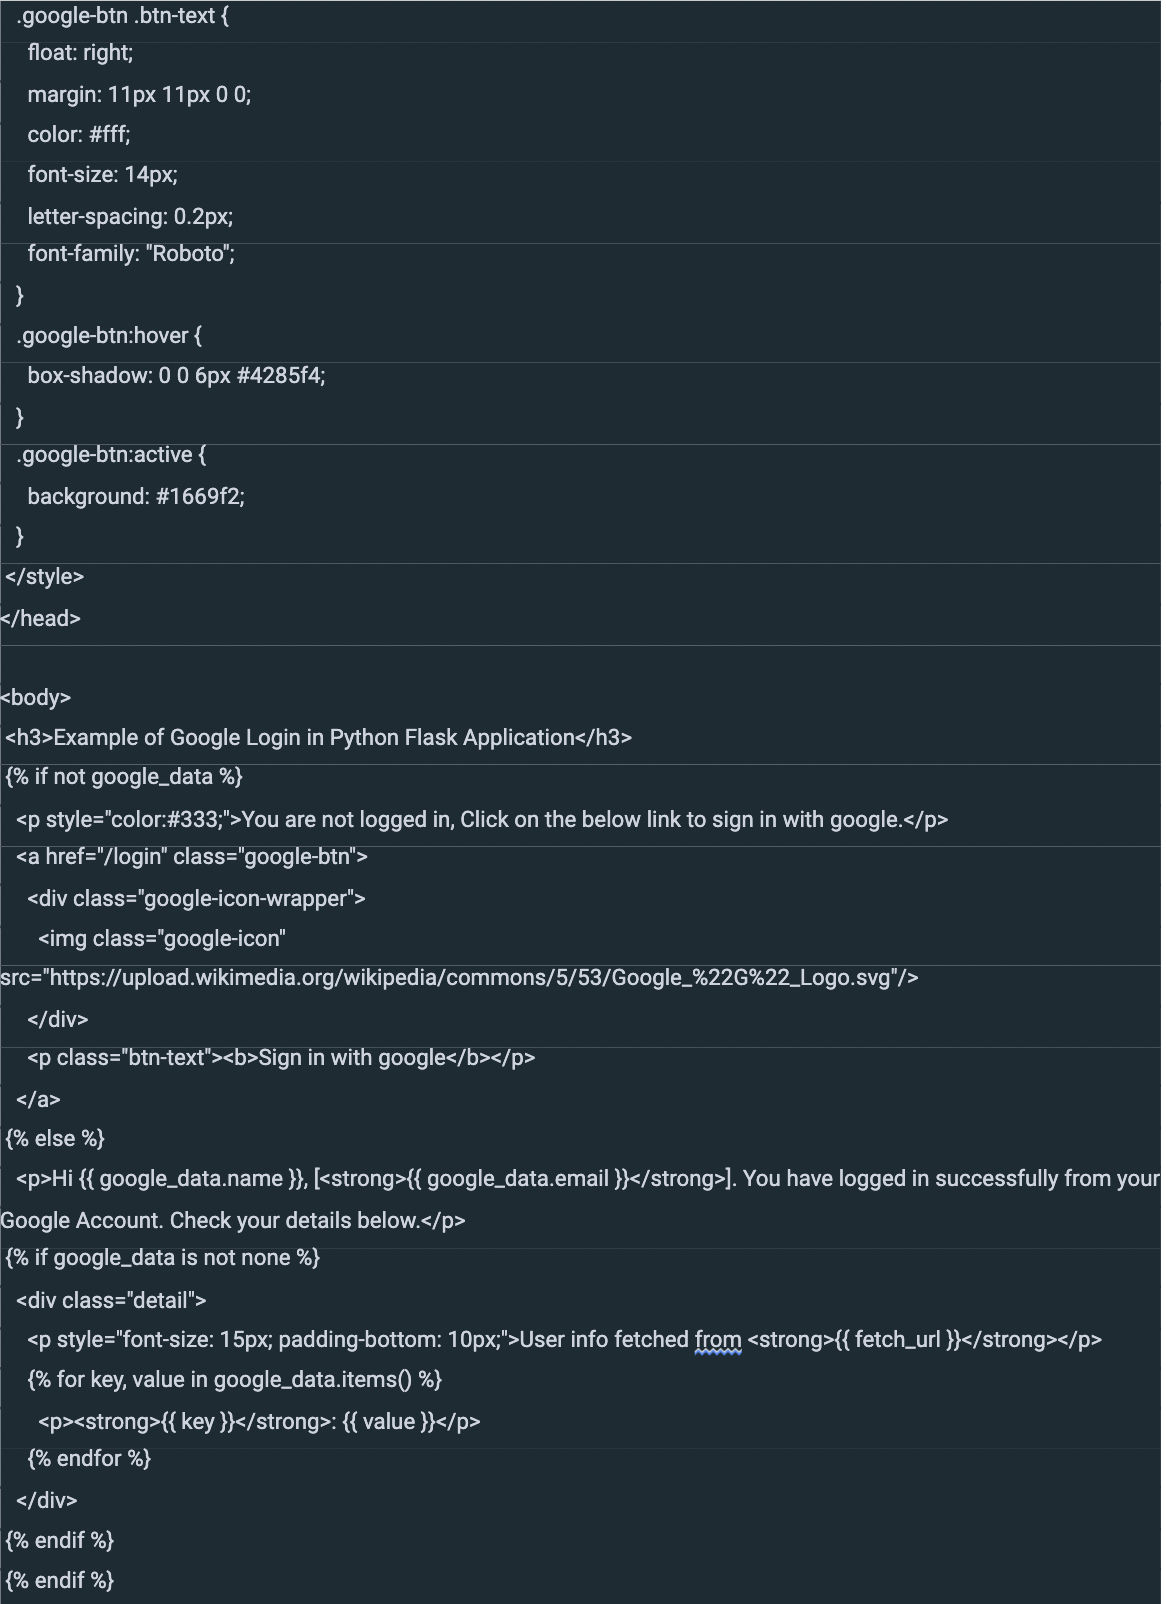
Step 5: Create an HTML template to show the frontend page. Create the templates directory in the root folder of the project. Then, create the index.j2 file and add the below HTML code in that file.

Step 6: Run the below command in the terminal to run the Flask web application.

You should now be able to access http://localhost:5000 in your web browser and sign in with Google.
Complete working code can be cloned from this GitHub repository.
Learn more about building APIs with Flask here.